You probably haven’t considered making your own hand sanitizer. Stores sell it for cheap, in a variety of scents and styles, and it’s basically as good as it can be. But if you’ve been to a pharmacy in the midst of a viral outbreak like the one currently gripping the nation, you’ve likely noticed that shelves empty as anxiety levels rise.
Right now in New York City, for example, it’s not easy to get any disinfectant product (wipes, spray, etc.), and the fish bowls full of hand sanitizer bottles you would normally find at the checkout counter aren’t even there anymore.
So, if that old bottle of hand sanitizer you’ve been carrying around is half-empty, don’t panic. You can make your own sanitizing gel with supplies you can find at a drugstore or may already have at home.
There are two main formulas out there: one, recommended by the World Health Organization, is closer to liquid than gel and is harder on your hands, while the other will be gentler on your skin and closely resembles the feel of store-bought hand sanitizer. Which one you make depends on your personal preference.
But before you start, it’s crucial that you understand simply rubbing your paws with hand sanitizer is not a substitute for good ol’ hand washing. Alcohol-based disinfectants used in the right amount (3 milliliters) and rubbed long enough (25 to 30 seconds) are fine in a pinch, because you’re not always near a sink. But soap, water, and a good scrub is the absolute best way to protect yourself against contagious diseases. Got it? Good. Let’s do this.
Stats
Time: literally 2 minutes
Estimated ingredient cost: $15 (makes 3.5 cups, or 15 of those little two-ounce bottles)
Difficulty: easy
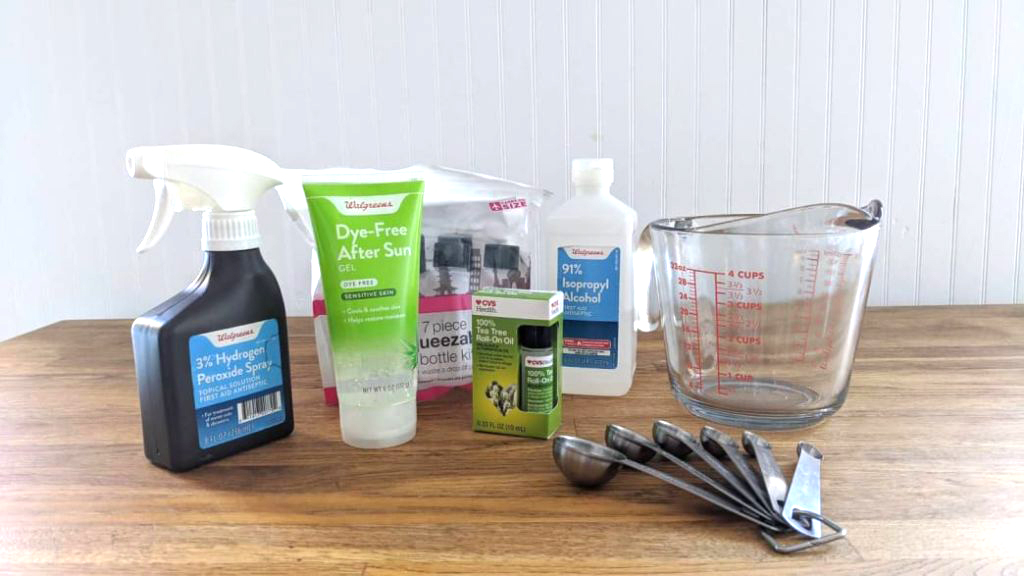
Tools
- Measuring cup
- Measuring spoons
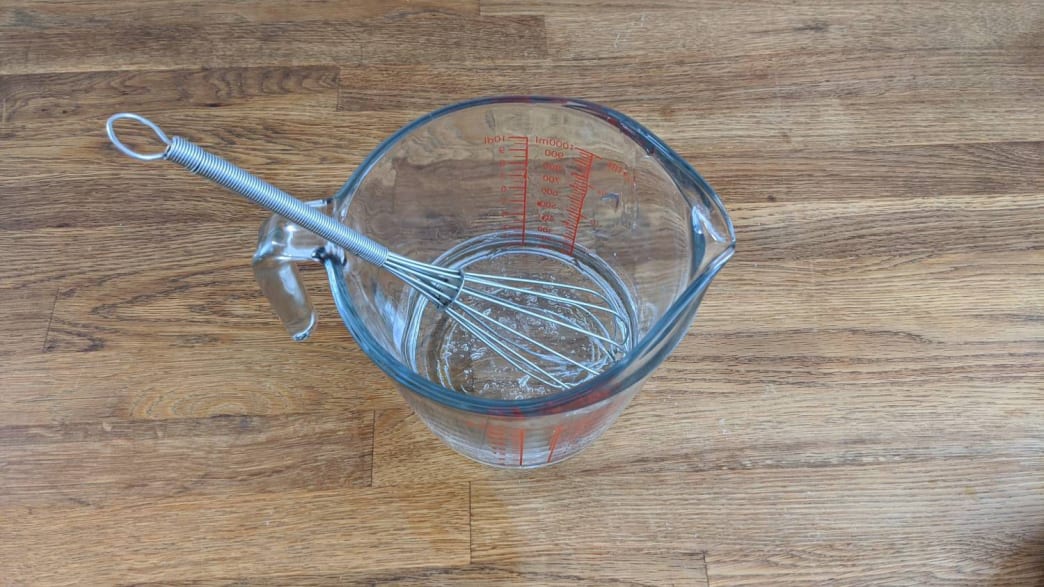
- Whisk
- Empty spray bottles (for WHO formulation)
- Empty lotion or sanitizer containers (for gel formulation)
Instructions for the WHO formulation
Ingredients
- 1 cup of 99% isopropyl alcohol
- 1 tablespoon of 3% hydrogen peroxide
- 1 teaspoon of 98% glycerin
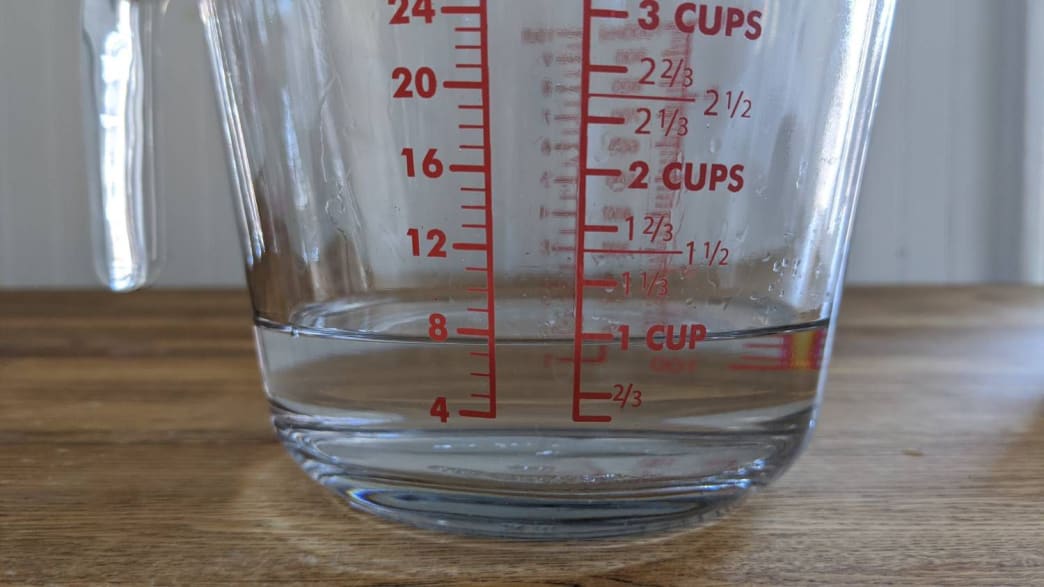
- ¼ cup, 1 tablespoon, and 1 teaspoon (or 85 milliliters) of sterile distilled or boiled cold water
The WHO has a comprehensive guide on how to make your own hand sanitizer—the only problem is that if you follow these instructions, you’ll end up with a lot of it. Like, exactly 2.6 gallons of it. If you want to make enough to last you, your family, and all your friends through a zombie apocalypse, you definitely can. But if you want to keep things on a smaller scale, we’ve adapted the measurements for you.
1. Pour the alcohol into a medium-sized container with a pouring spout. The percentages on the labels of isopropyl alcohol refer to the alcohol concentration in them. You’re dealing with almost pure alcohol if you’ve got 99.8%, whereas 70% means the bottle is only a little more than two-thirds alcohol, and the rest is water.
- Note: Some formulations have tried to adapt these proportions to use 91% isopropyl alcohol or even 70%. But these alcohol concentrations will render a final product that doesn’t comply with the Centers for Disease Control and Prevention’s recommendation of using hand sanitizers with at least 60% alcohol to fight COVID-19.
2. Add the hydrogen peroxide.
3. Add the glycerin and stir. This ingredient is thicker than both alcohol and hydrogen peroxide, so it’ll take some stirring to combine everything. You can use a clean spoon for this or, if your container has a lid, you can put that on and shake it well.
4. Measure and pour in the water. If you’re using 99% isopropyl alcohol, you’ll need to measure ¼ of a cup, 1 tablespoon, and 1 teaspoon of distilled or boiled cold water and add it all to your mix. If you’re using another percentage of isopropyl alcohol, just pour as much water as necessary to get to a final volume of 345 milliliters, or approximately 1.4 cups. Stir.
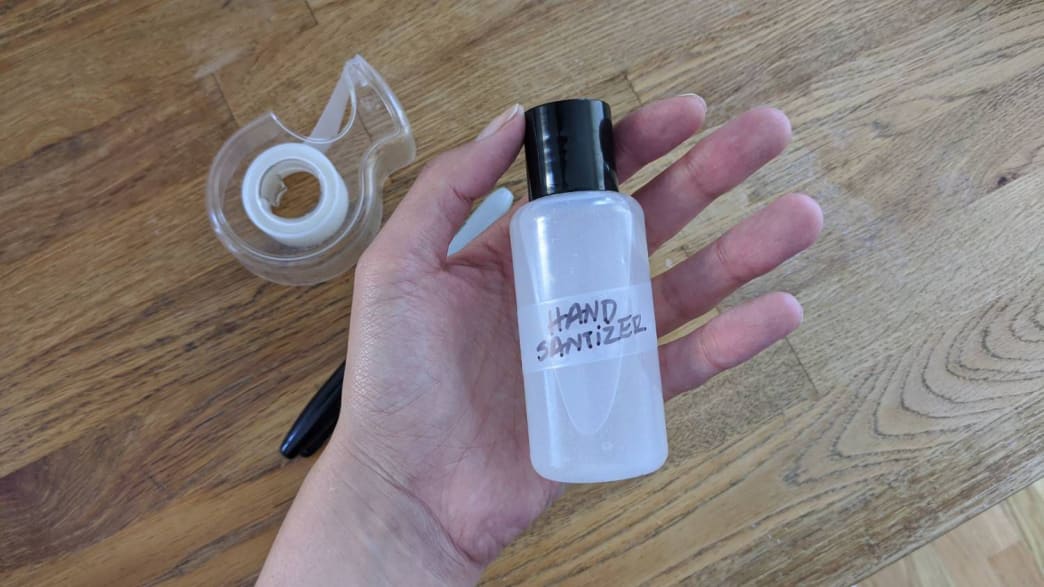
5. Sanitize your spray bottles and pour in your hand sanitizer. Spray some of your leftover alcohol into your bottles and let them sit until the alcohol has evaporated. Pour in your sanitizer.
6. Label your bottles. You don’t want any accidents where you or anybody else ingests your newly made hand sanitizer. Take the time to label your bottles. Go kill some germs.
Instructions for gel sanitizer
Ingredients
- 1 cup of 91% isopropyl alcohol
- ½ cup of aloe vera gel (natural or store-bought)
- 15 drops of tea tree oil (or another antibacterial essential oil)
1. Pour the alcohol into a medium container with a pouring spout. Some recipes online use vodka instead of isopropyl alcohol, but most vodkas don’t contain a high enough percentage of alcohol to be effective.
- Note: Using isopropyl alcohol diluted beyond 91% will result in a more weaker hand sanitizer that doesn’t meet the CDC’s 60% benchmark.
2. Measure and pour the aloe vera gel. Alcohol can be hard on your skin, so using aloe is a good way to counteract that effect and keep your hands smooth. If you want to keep things natural, you can use aloe vera gel straight from the plant without worrying about it going bad—the alcohol will act as a preservative. However, you will need to keep in mind that natural aloe gel is thicker than its store-bought counterpart and will thus affect the final product differently—it will make your hand sanitizer more sticky, which means you’ll need to rub your hands more times for it to fully absorb.
3. Add the essential oil. Tea tree oil is naturally antibacterial, so it makes sense to use it here. But if you’re not a fan of its smell, you can use another type of essential oil, like lavender, lemongrass, or eucalyptus.
4. Whisk. To fully mix all ingredients, stirring won’t be enough. Get a whisk and beat that hand sanitizer into an homogeneous gel.
5. Sanitize your spray bottles and pour in your hand sanitizer. Spray some of your leftover alcohol into your bottles and let them sit until the alcohol has evaporated. Pour in your sanitizer.
6. Label your containers. You don’t want any accidents where you or anybody else ingests your newly made hand sanitizer. Take the time to label your bottles. Continue living.
Written by Sandra Gutierrez G. for Popular Science and legally licensed through the Matcha publisher network. Please direct all licensing questions to legal@getmatcha.com.
Featured image provided by Popular Science
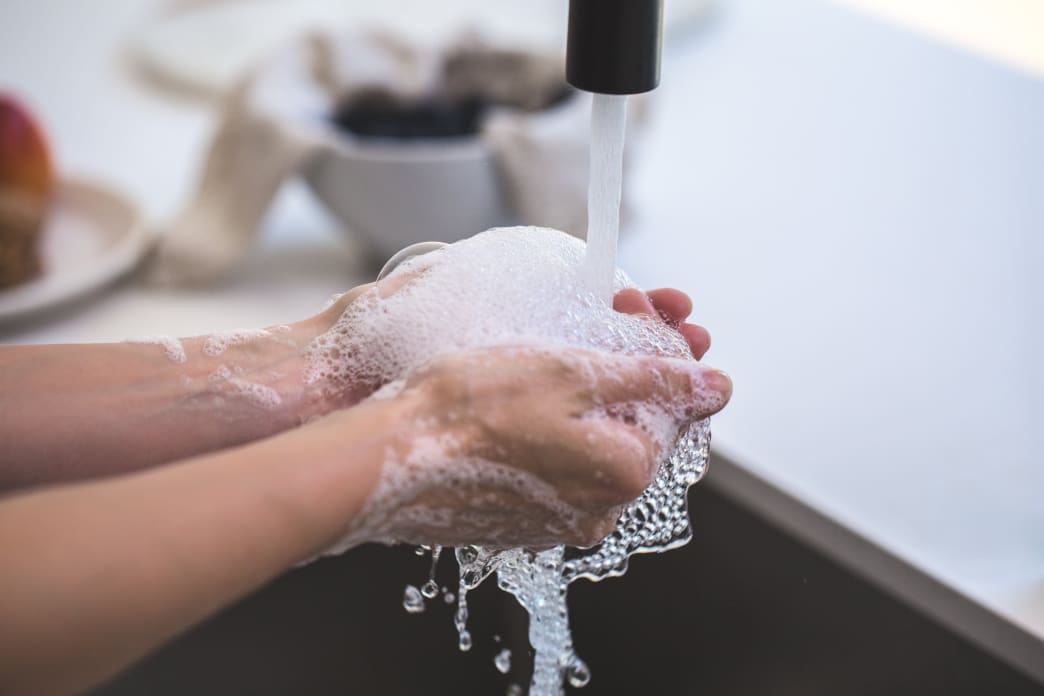
Why COVID-19 can’t beat a good hand-washing